Tuesday, November 29, 2011

BlogPost 9: Rigging a Model

In this lesson, I am given the instructions on how to rig a model completely with small little details included in it. With the aid of the video demonstrations given to us by the lecturers, I am able to check and complete the rigging completely. The video allowed me to redo over and over again if I have any problems encountered. I feel that this enhanced our learning and really did helped me a lot as the videos are like a virtual lecturer that can teach me even when I'm at home. However, there are still some problems occurred, (minor problems), that I was unable to solve them until when Mr. James came to help. He has great understanding of the program (Maya) and the subject. Below will be the images of my work progress for this lesson.
 Here is the original look of the model, with no rigging, just a basic model.

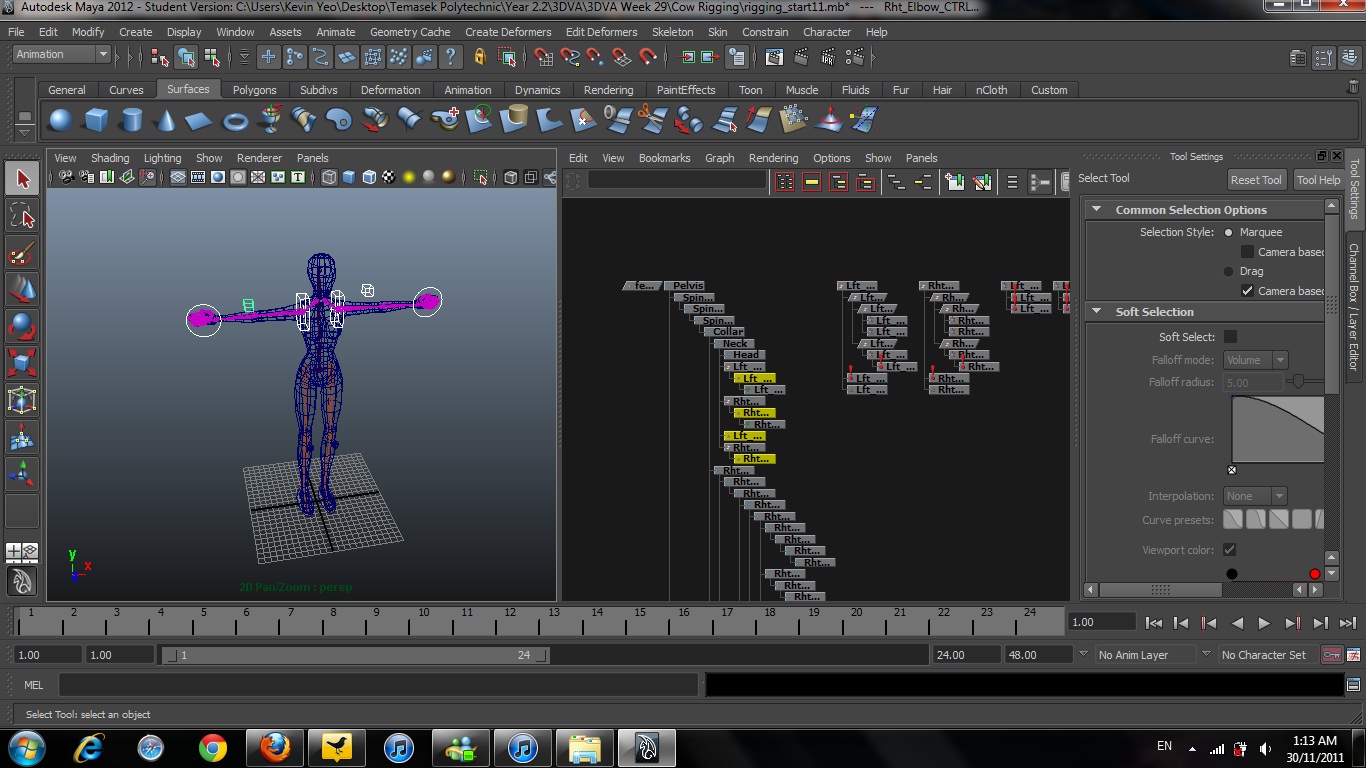
 The joints are added in at this point, with the complex hypergraph beside which is good for tracking of the right joints.

The constraints are being added into the Hand Control and thus, enabling the bending of fingers.


 Choosing multiple objects with the hypergraph than clicking on the model itself is better as clicking the model would sometimes cause problems such as selecting the skin or the joints instead of the controls.

 Here is an end result of all the rigging that has been added into this model, there are more complex ones but are not taught inside the video, but they did said there are possible ways to create them such as facial features.

I have to admit, this is one of the most tedious part about Animation. However, without these being done to a model, movement of the joints and skin will not be possible. There is no other way, other than learning from the basics before I can even create better animations in the future. I still do enjoy as I know I'm taking a step at a time towards being better each time a task is given to me.

Wednesday, November 23, 2011

Blog post 8: Big Dog Animation

The task given for this blog post is to animate a very plain model with simple rigs into an animation shown in the video. There are many things to take note of before even starting to animate the model into its different poses. The video is shown here below.


This is the video I'm tasked to look at and animate a model into the machine seen in this.


Here it is again in slow motion - allowing me to take note of every detail in the video.


This is the model that was given for me to model the animation seen in the video.


As I have mentioned in the previous post, animation requires three important things to be completed. They are required to be checked throughout the entire process of animating to provide a positive and realistic outcome.

Firstly, the key frames. By slowing down the video, I am able to notice every single detail found in the video. An example would be the body motion of the machine. As the machine moves towards the left, there is a wave of up and down motion, a very smooth curvy motion seen as it progress. And there will be jerks along the way when the legs touch the ground, creating a impact on the ground and the machine, giving the animation weight. Furthermore, noticing that only two legs move at a time when it is being kicked, I kept that in mind when animating so that the result would be a realistic one. By doing so, I have learned that lots of things are happening even within just one second. I started to notice small little details like the position of the body and how the legs move as it gets kicked.

Secondly, the timing. Looking at the video, as the push given from the human is given from the start, I created anticipation by making the animation lean to the side first, then a fast action of being kicked motion is being added in. The timing of the frames are very close from the start and slowly widens between each other. This shows that the model is being kicked at the start, quickly having fast movements so that it will regain its balance, then slowing down too at the back to show that it has fully regained control of its balance. At the very last part, I added something that made the animation looks as if it jumped a little, to make it look more realistic. This was noticed in the video too. This allowed me to recall the 12 Principles of Animation again, giving me the knowledge to the ways of making the animation better, and a more realistic one.

Lastly, the graphs. By editing the graphs using graph editors, the animation have more smooth flow, and for the jerks, they are show more easily by sharp and steep curves for that particular frame. I've learned that by using graphs would actually help a lot in perfecting the animation as you can see every detail of what the computer has made for the animation in between key frames, allowing you to edit them into the way that you want it to be displayed. I will keep in mind about this and use the graph editors when animating a model.

By doing all of the above, the result of my animation is shown here:


My animation

Thursday, November 17, 2011

Blogpost 7: Weight Shift Animation


For this activity, I am tasked to shift a weight of a simple model from the right leg, to the left leg. Making it into an animation, I have to focus on mainly the hip movement to give the motion of the model a realistic one.

This is the model that I will be using for this activity.

By focusing on the hip movement, I am able to complete the task but there are a couple of things learnt. Recalling on the Animation Principles that I have learnt in Introduction to 3D, I added in Anticipation at the start of the animation. Also, having Secondary Actions are found in the animation I made, seen in the video below. Keeping track of the time intervals for the different poses are crucial to creating a realistic animation. Before starting the animating, I placed keyframes and marked down them for the different start/poses. And frames beside them will be used with Anticipation in the animation. Through this activity, I have recalled all the Animation Principles and made me understand there are many different things to look out for in an animation.


This is the result of the activity.

Monday, November 14, 2011

3 Basic Principles for Animation

1) KEYFRAME:
Before creating any animation, always set the keyframes first. Taking note of key poses at different keyframes. Key poses such as,"Change of direction in animation, and different heights of a bouncing animation".
Questions we ask ourselves when we are animating,"What are the key poses of the entire animation". After noting those key poses, we can fill in the in between motions of the animation with ease.
*Ease in and Ease out, slowing down into a key pose.

2) TIMING:
Playing with the timing allows you to put in the animation principles into good use, hence creating a realistic animation.

3) CURVE:
Using the hypergraph to smoothen up the curves of the graph, making the animation into a more smooth and realistic motion.

Link:http://fuzz-animation.blogspot.com/

Thursday, November 3, 2011

Blogpost 6: Modeling a Tattoo Girl


For this exercise, I am tasked to model a tattooed girl which is in veryunique position. Using the same model, I've managed to complete the post with quite an amount of difficulty. The steps of me completing it are shown below.


This is the photo that I'm tasked to model after.


This is the original model that I'll be working on.


I started off by moving the legs and arms of the model. I had lots of difficulty at this stage because the posture of the girl is very unique and requires me to take note of every detail eg. the positions and where are the arms and legs facing when she squats down. Also, I have to make sure that there is a sense of balance in the model.


Then, I started moving the head to face in the same direction as the girl in the photo. For the left arm (viewing from this photo), it took me quite awhile to place it in the center of the entire model. This is because, the model is leaning forward hence requires something to hold the entire body weight.


I bent the model's fingers to show that it has some tension in holding the weight of the entire body. And the fingers of the other hand, I bent them to show a feminine feeling, similar to the girl in the photo. I've also bent the back of the model, like what I've learnt from the previous exercises, to show its organic and realistic.


This is the end product of this exercise. Similar to all the previous exercises, I've spent the most time on the facial features because I feel that without making the facial features with the face muscles contracting at the right places, the model doesn't that real to me at all. Which will make me really unsatisfied with my work.


From this exercise, I've learnt how to do some independent learning. Such as searching online for cartoons' emotions and how their facial features can portray their current feelings and emotions. This is because the girl in the photo has this fierce and sharp look which makes it really difficult for me to do it without any references. I believe that animation requires one big part of us which is, "Exploration", in order to make one of the most recognizable animations.

Wednesday, November 2, 2011

Blogpost 5: Modeling an Actress from Bollywood


I start to model the next photo, which is an Actress from Bollywood. In this photo, I believe that the posture of how the actress sit is very important. And also, her happy sweet smile has to be shown in my modeling too, making its appearance as close as the actress's.

This is the Actress given to us to be done to our model.


The original form of the model.


I started by moving the legs into position, and twisting the body a little to show the curves of the actress.


Then, I moved the arms and elbows into position, making it as similar as the actress.


The right arm is in this position to show as if the model is sitting on a chair. Additionally, I moved the body back a little, enhancing the curves of the model.


This is the end result of modeling the actress. I've moved the fingers to show a very feminine image of the model. Also, I raised the nose bridge of the model to show its sharp and clear features, similar to the actress. Furthermore, I've made the eyes a little smaller and flat to show a very sharp killer eye look, with its raised eyebrows, and raised cheeks to show its beautiful smile.

From this exercise, I've learnt that making human postures are not just about moving the arms and legs into the right positions. The backbone is always something that is so important to making the model from just a 3D model, to a very realistic one that is organic. Similar to the last exercise, the facial features are always important to display the mood of the character, giving it life to itself by just looking at it. I began having much more fun in animation now compared to the previous me, and I understood the importance of blogging all our work progress.

Blogpost 4: Modeling Character from 300.

Today I was tasked to complete 3 different poses of people with the given model from http://elevenrig.blogspot.com/. The first pose is from a movie poster of 300.

This is the poster from 300.


This is the model given from http://elevenrig.blogspot.com/.


I started by finding out the different controls of the model, and began moving the arms first.


I moved the arms into position by using the wrist, hand and elbow controls.


I started to move the eyebrows, mouth and size of eyes to show anger in the model.


This is the end result of the emotion "Anger" that I want to show.


I moved the body of the model to show a balance and a body posture which will help to make it more realistic.


This is the end result of modeling the movie poster 300.


From this exercise of making the model, I've learnt how the facial features can be so important in creating and showing the mood of the character. Also, by adding in body postures will also give a realistic body posture which will also help to display the current emotion of the character. This model explained to me the importance of knowing what the character is feeling before creating it.